
|
How to create your own virtual agent in 10 clicks |
|
Bot Libre for Business makes it easy for you to create your own chat bot, or virtual agent. You can create your own bot, and embed it on your own website, or mobile app. You can create bots for website help, technical support, sales, marketing, customer service, or to automate social media. Bot Libre for Business bots require no programming, and can be trained easily using several methods. Bots can be trained by importing FAQ's, scripts, and chat logs, reviewing and editing responses from our Admin Console's Training & Chat Logs page, or through conversations with you and other people, or from listening in on live chat. Bot Libre for Business bots supports advanced artificial intelligence that can be enabled to let bots learn and comprehend language. Bots can also be scripted and programmed using AIML, and the Self (a dialect of JavaScript). To create your own bot follow the following 10 steps: Step 1 - Bot Libre for BusinessFirst go to the Bot Libre for Business website. Step 2 - Sign UpTo create an account by clicking Sign Up. Enter a unique user ID, password, your email, and name. Your user ID is just your login name, keep it simple, i.e. jonsmith, or janedoe. 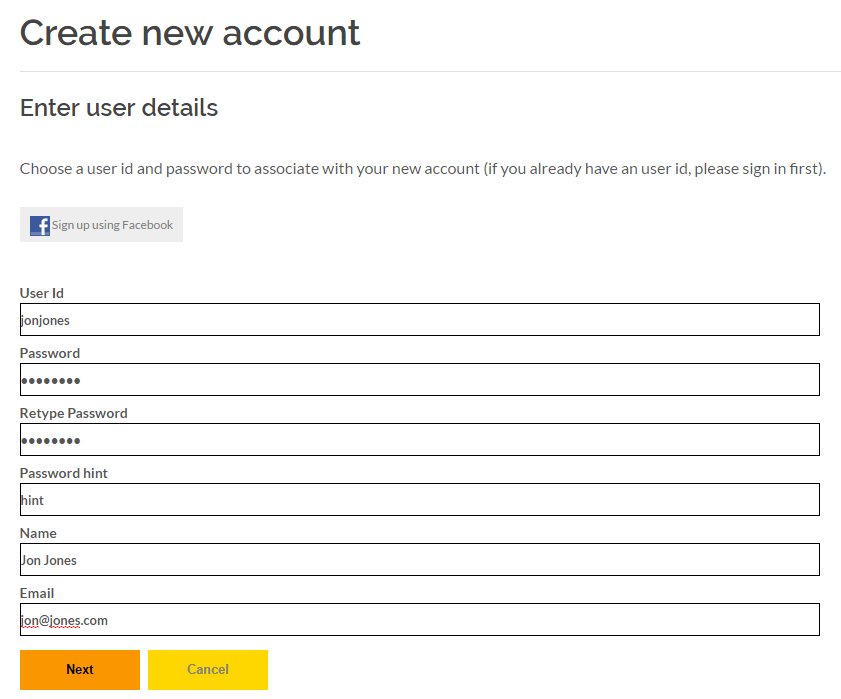
Step 3 - Create DomainThe account wizard will next take you to your domain setup. A domain is just your account directory, where you will be able to create bots and other content. Enter your domain's name (i.e. your business's name) and click Next. 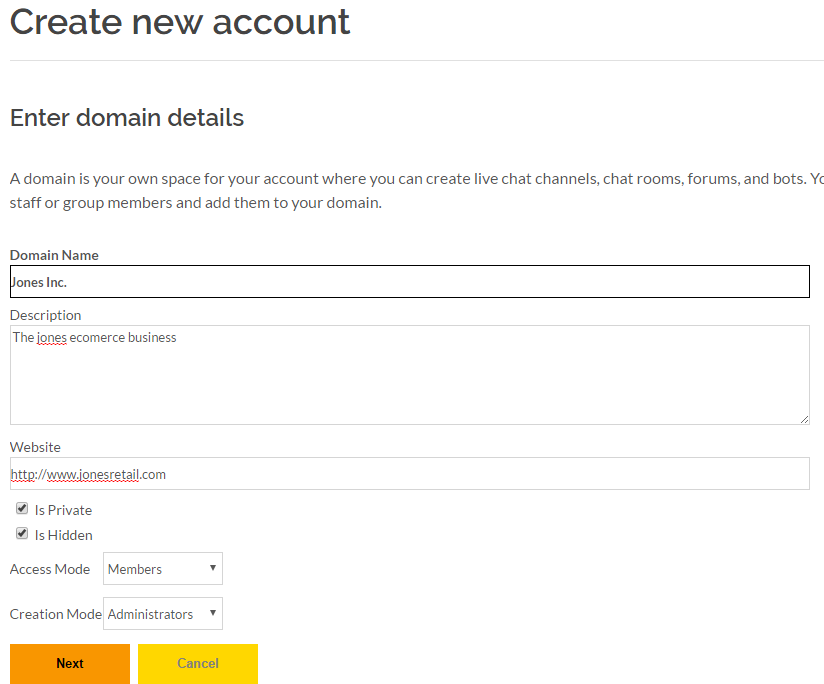
You will then be able to choose your level of service and the duration for your initial payment. For a one month free trial select "Free Trial". If you would like help creating a bot select "Enterprise" and we will contact you through email to setup your bot and other content. Click Next and make your payment through PayPal or credit card. Step 4 - Create Bot
To create a new bot click Create from the top banner. You can give your bot a name and description. The name must be unique and can contain spaces, special characters, and is case sensitive. You can create a bot from the default template, or select one of the other predefined templates. The "service_template" is a good template for a customer service bot. Your bot will start as a clone of the template bot, and replicate its entire memory (brain). You can also allow your bot to be 'forked' and used as a template for other bots, or you can browse other bots and choose to fork your bot from them (this is also a good way to make backup copies of your bot). You can create either a public bot that will be accessible by other users, or a private bot that will be accessible only by you. You can control the users that can access and administer your bot. Normally a customer service bot will be public, and allow everyone to access it, so it can be accessed from your website, from your website users. 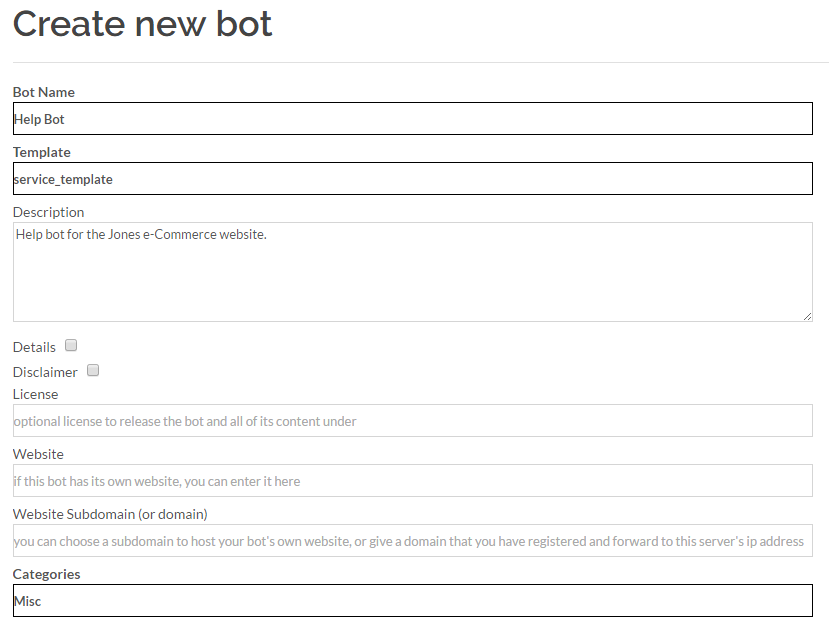
Step 5 - CreateClick 'Create' to create your bot. That's it, your done. You can now chat with you bot by clicking 'Chat'. To find your bot again click 'Search' and search for it in 'my bots' (be sure to sign in first). 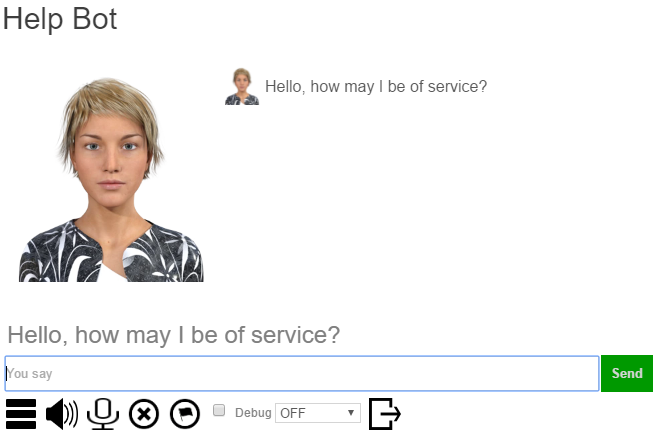
When you select your bot, you can 'Edit' it to change any of its information. You can change your bot's picture or choose an animated avatar from the Avatars page in its Admin Console. You can also connect your bot to Twitter, Facebook, or email, or have it join an IRC chat room. You can import chat logs, or words from Wiktionary, or data from WikiData. You can browse the internal structure of your bots memory. If your are an advanced user, you can program or script your bot using AIML or Self. You can view your bot's log. To link to your bot you can select it and copy its URL from your browser, this is its unique URL. You can also embed your bot on your website or blog, you can learn how from the Embed page. To get to your bot's Embed page click on its Embed button. 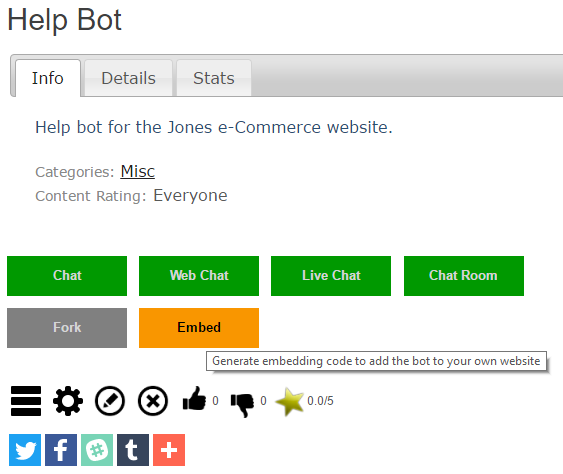
The Embed page generates the HTML/JavaScript code required to embed your bot on your own website. Simply copy the code in the top text area, and paste it into the page on your website you want the bot to appear on. The Embed page provides several different types of embedding, and many embedding options to control the look of the bot on your page. The "Box" embedding option is the most common for a virtual agent, and gives you a "Chat Now" button on your page. The embed page also lets you enter a CSS styles sheet to customize the look and feel of your bot's popup. You can also customize the style settings in the generated code. The embedding code uses JavaScript, and the open source Bot Libre JavaScript SDK. You can customize the JavaScript however you wish. There are also more embedding options available in the JavaScript object, such as prompting the user for their contact information. 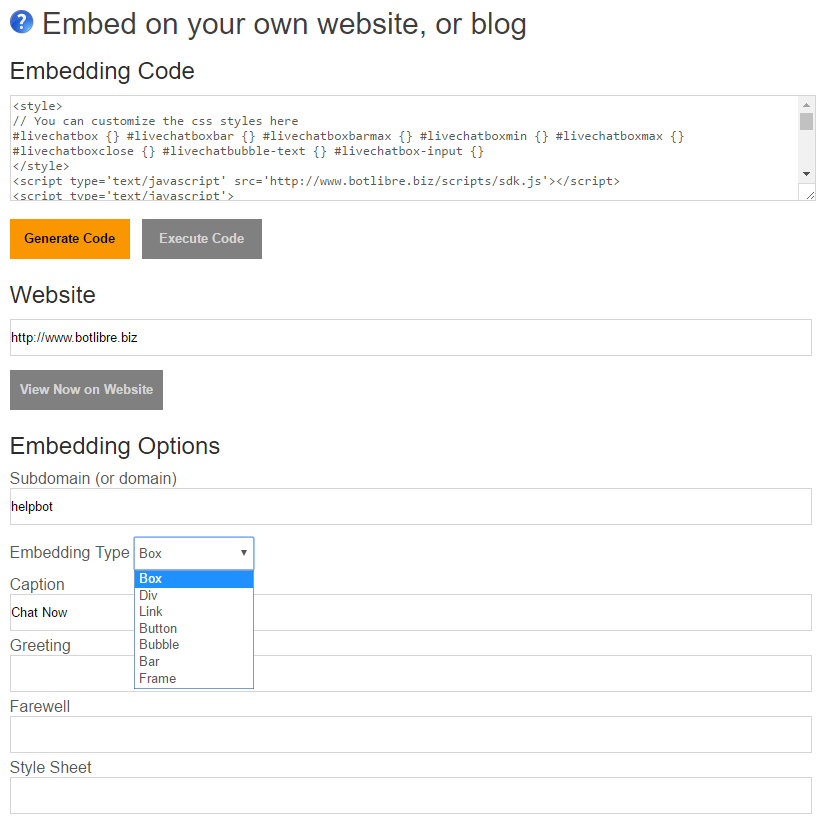
Once you add the code to you website, you will get a "Chat Now" button on your website. When users click the button your virtual agent will popup in-page offering its help. 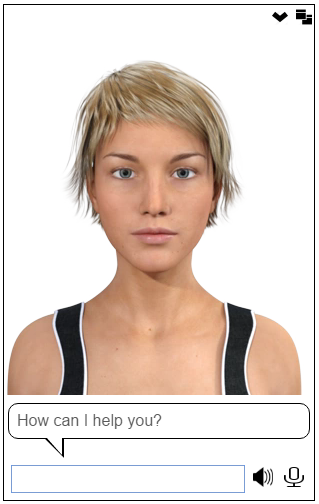
If you also want to add live chat to your website, you can do that by creating a Live Chat Channel, and getting its embed code from its embed page. That's it, good luck creating your bots. If you have any questions you can contact support@botlibre.biz, or chat with the Help Bot |
|
|
|
|
|
|


